logologo

Curious. Creative. Living Boldly.
  • Home
  • Journal
  • Fibre Arts
  • Journeywoman
    • Bangkok to London
    • Northern Sea Route Russia 1
    • Northern Sea Route – Russia 2
    • Journey Bhutan – East to West 2016
    • Antarctica 2016
    • Peking to Paris in Penny 2016
    • India and Bhutan in Penny 2015
      • Kolkata
      • ON the Tram…. a bit fish-bowley but lots of waves and smiles…
      • Siliguri to Darjeeling
      • A mountain Drive….. Paro to Thimpu
      • Mongar to Trashingang
      • Trashingang to Sandrup Jongkhar
      • Kale to Monymar… then to so many temples at Bagan
      • Temples in Myanmar
      • Magical Ballooning over Temples in Bagan
      • Bagan to Inlay Lake
      • Inlay Lake
      • Inlay Lake to Taungoo
      • Taungoo to Kyaiktiyo
      • Last day in Myanmar and missing clouds in the sky
    • Greenland 2015
      • Iceberg Gallery
      • Magical Greenland….
      • Julie the landscape
      • Walking the tundra
      • Ymer Island…
      • Zodiacs and Icebergs!!!
      • Ittorqqortoormiit
    • Iceland 2015
    • Antarctica 2014
    • Chile 2014
    • Morocco in Penny 2013
    • Europe 2013
    • Bhutan 2016
    • Journal Categories
  • Photography
    • Biography
    • Arctic Silence
    • Svalbard Ice 2018
    • Svalbard Mountains
    • Antarctica 2016
    • The Shape of Cold
    • The Ice Breathes
    • Greenland 2015
    • Whales
    • Hindsight
    • Exhibitions
    • Books
  • Julie
    • About Julie Stephenson
    • Journeywoman
    • Photography
    • Shaman and Healer
    • Storyteller
    • Wisdom
      • Courage
    • What others have said….
  • Connect
Previous Post
Next Post
Oct 07
in Tonga 0 comments

Underwater Photography, Whales in Tonga; Canon G16 Recsea Housing; My Mistake; Lost Opportunities & Learning

Yes… after some absence and time of sporadic and inconsistent posting, I would like to fill you in and share some of my experiences and photos from my recent amazing adventures in Tonga.

I’ve had an exciting yet busy year travelling to Chile and Antarctica with Max, and helping my friend establishing a Health and Day Spa for women in Brisbane, Fempower Health and Spa –  so my photography, art and writing has taken a back seat for a while and although I still connect with and observe the world in the inquisitive way I always do, I’m feeling bubbling inside me my urge to write, take photographs and be creative; and I’m excited about diving in to some uncompleted projects and also letting my expression of my experience in Tonga unfold through my photographs and writing.

So…now to swimming with the whales in Tonga – incredibly privileged for my third year. :-). Firstly; to take photographs one must have a camera and an underwater housing.  For those who know me, you know that I like to have the best equipment I can, and yes I am a little obsessive about taking care of it. I looked into camera and housings for the Canon 5D’s… which worked out all up to be about $15,000-$17,000 with wide lenses and superdome port, so that was out of the question.

Then I was really interested in the Olympus OM-D EM-1 series. The Olympus OM-D EM-1 interchangeable lens Compact camera is a brilliant little camera and a couple of the lenses for it are superb. So I thought I would get it with 3 lenses, the Nauticam Housing and 2 dome ports. Hmmmmmm $11,000 all up. For my needs taking photos of swimming with the whales for 8 days in Tonga – INSANE!  So I went the G16 Recsea housing instead. Still $2k… but do-able; and I could use the G16 for my other travels around the world as my carry point-and-shoot.

MISTAKE!

And what was an even bigger mistake was that although I purchased my housing nearly a month before I left, I did not test it out.

BIGGER MISTAKE!!

At 4pm on the afternoon before I was to fly to Tonga, I placed the Canon G16 in the housing and the shutter button would not operate the shutter. The tolerances were so fine that there was not enough ‘play’ in the shutter mechanism to push the shutter all the way down to take the photograph.

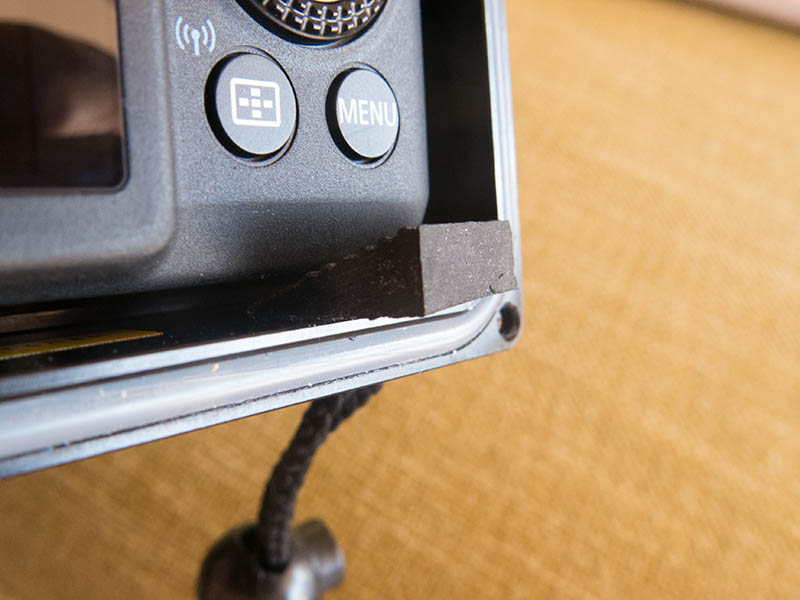
So… 8pm on the evening before I flew to Tonga I was driving to Bunnings racking my brains for solutions of what I could do to try and lift the camera in the housing so that the shutter button would press down fully. I had a thought. What about cutting the tip off the end of a small door stop to make a little wedge???

Brilliant! …… NOT!
IMG_7137

When I did this, the shutter button worked…but the pressure on the entire camera made all the other buttons inoperable. So that solution was a big FAIL! LOL.

On the way to the airport, Master Solution Solver Max from somewhere in remote China via satellite phone – suggested I get some double sided tape from the shed office and find some type of material to stick to just the top of the shutter; to give it a bit of extra height.

BRILLIANT!….. YES!!!

I cut out a little circle from the plastic cover from my little notebook, and that was the best work-around under the circumstances. The shutter worked about 60% of the time… which was better than not working at all.

IMG_7139

The Recsea G16 housing in general is superbly built and is of exceptional quality; except for the faulty shutter mechanism. The other issue I found however which is one of the characteristics rather than a fault, was that zooming was not possible past only a little bit – which I was aware of; but no-one told me, nor did I read anywhere that when the lens hits the dome when zooming – that the camera actually shuts down because of a “lens error”. In my experience, sometimes if the lens is zoomed too close to the port I would hear a little clunk…and the camera would still stay on. In this instance zooming in just a fraction in small increments was absolutely useless, because my camera would turn off and it would be 10-20 seconds before it would re-start and by that time the moment was lost with the whales, and often by that time they were well on their way into the deep blue.

So… yes – I had some issues with my camera and housing. I was not prepared. I made the mistake of not checking the capacity and characteristics of my equipment before purchasing. I made the mistake of not checking my equipment well before my trip. My photographic journey was limited. I didn’t get my photos of my ‘flying whales’ which I really wanted to build a portfolio of because I’m truly excited about seeing the whales in that way.  As I was connecting with the experience of interacting with the whales, I could not let that come through my camera and many images were left in the ocean, due to something which was at that moment beyond my control; yet ultimately I had to accept responsibility for.

You will know by now that all my experiences teach me something about myself, as I am committed to and hungry for this Self-knowledge and connection with that which is beyond within me.

I’m feeling a little dismayed about lost opportunities; recognising how quickly time passes and how short my “wild and precious life” is (Mary Oliver). I connected with what is innate and moves me. I reflected on what is important to me… what I want to experience… what fulfils me… what to prioritise… what to just accept and make the best of under the circumstances…. what to say “Oh Well” to – and what is important enough to me to ensure that in future my actions support my inner voice and knowing.

My experience in Tonga was incredible. Humbling. An absolute privilege. I often just put my camera to my side and looked into dark, knowing eyes and swam alongside each beautiful creature, regardless of my limping camera equipment. Yes… it is all about the experience and not the images. My images however continue to provide an opportunity to connect with myself when my wetsuit is dry and I am far from the salty spaces of the Tongan seas; which is why I would have liked to not be limited by something which is not working and functioning as it was designed to.

I DID have an absolutely amazing time, filled with wonderful privileged experiences….so over the coming weeks I will be posting some of my adventures and images, so stay tuned. 🙂

Flying Into the Night…

Flying into the night-Tonga 2014 Julie Stephenson


Share this:
3516
0
About the Author: Julie
I am a Journeywoman. I live my life as an explorer. An adventurer. An Observer. An Artist. There is no differentiation between how I live my life and the art that is an expression of it. It is through my experience adventuring the unknown, that I learn more about myself. My aim through this connection is to live where my expression is fully in alignment with the essence of who I am. “In the field of Fine-Art Photography, Julie stands apart from others with the way she sees the world and expresses her connection within it. Julie Stephenson’s photographs are sublime. Her work is an expression of her deep connection; and a gift to the world.”

  • Swimming with the whales!!! At last!!!
    Finally.... a whole life of wishing and dreaming... and FINALLY Read more
    in Earth and Sea, Tonga 1 comments
    0
  • Rainbow LED lights in temples….. Buddhism 2015 style in parts of Myanmar…
    I do have quite a lot to catch up on over the past three days  and you can also Read more
    in India and Bhutan in Penny 0 comments
    1
  • it’s a long road
    mirage Read more
    in Uncategorized 0 comments
    0

Sorry, the comment form is closed at this time.

Journal Categories
  • Fine Art Journal Posts
  • Northern Sea Route
  • Peking to Paris Journal Posts
  • India and Bhutan
  • Antarctica Journal Posts
  • Greenland Journal Posts
  • Morocco Journal Posts
  • Tonga Journal Posts
  • Photography Teaching Journal Posts
  • Inspirations Journal Posts
  • Books
@skeinydipping

@skeinydipping

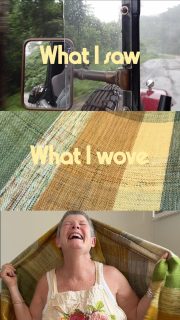
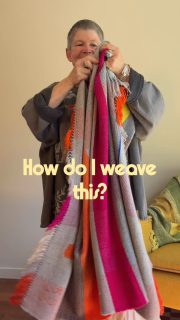
𝐌𝐮𝐥𝐭𝐢 𝐌𝐞𝐝𝐢𝐚 𝐀𝐫𝐭𝐢𝐬𝐭 | 𝐇𝐞𝐢𝐫𝐥𝐨𝐨𝐦 𝐓𝐞𝐱𝐭𝐢𝐥𝐞𝐬 Luxury Handwoven Blankets 🌏Stories from life & global adventures 🧩Woven into unique collector pieces Explore ⬇️
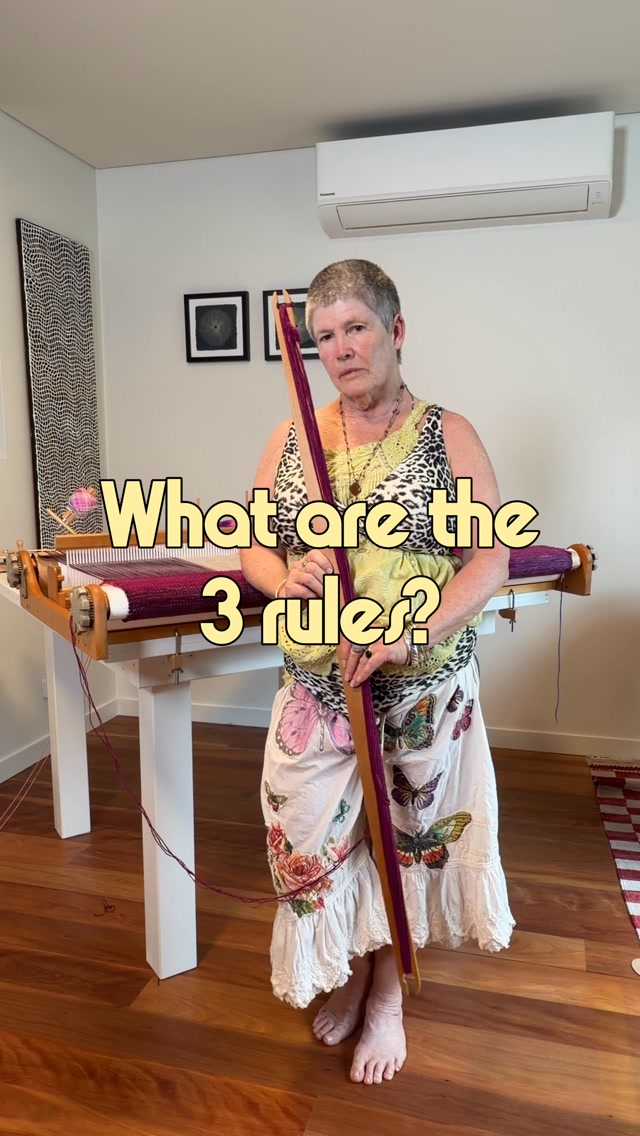
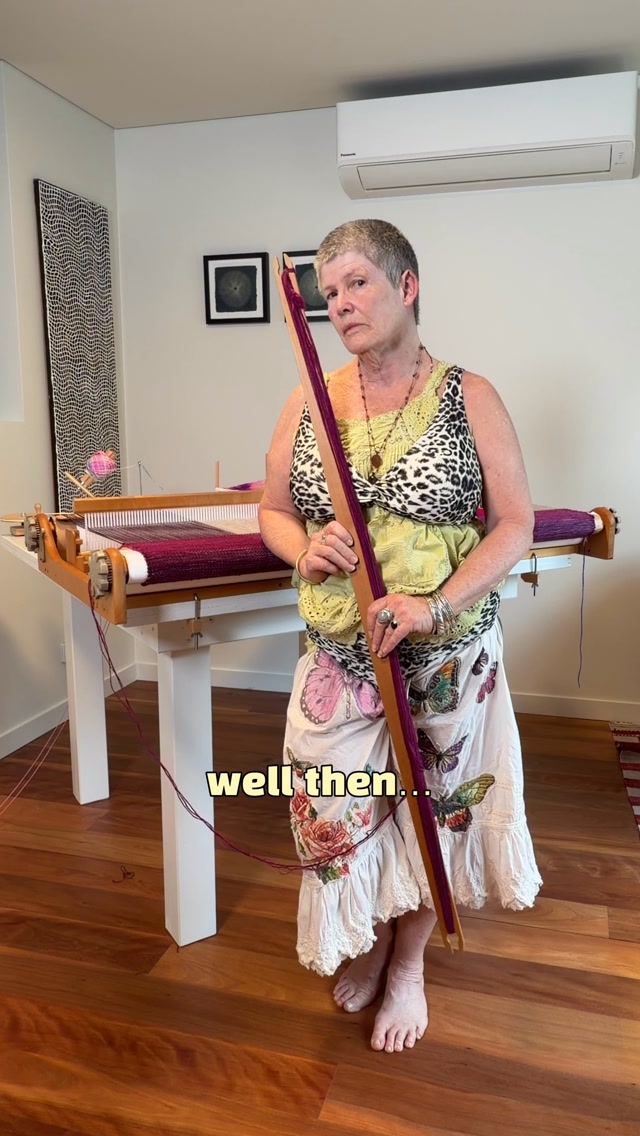
  • Options?? Hmmmmm Beating the weft on my rigid heddle loom - is an option! 

Your thoughts?? :) 

I’m a sassy older weaver who loves weaving. Have a look around my space here and come follow along. I may even make you laugh!
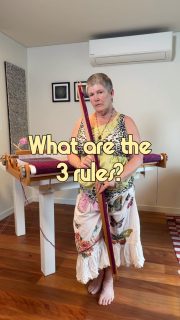
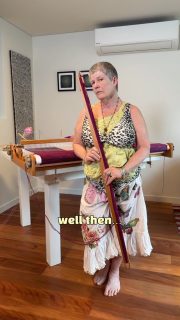
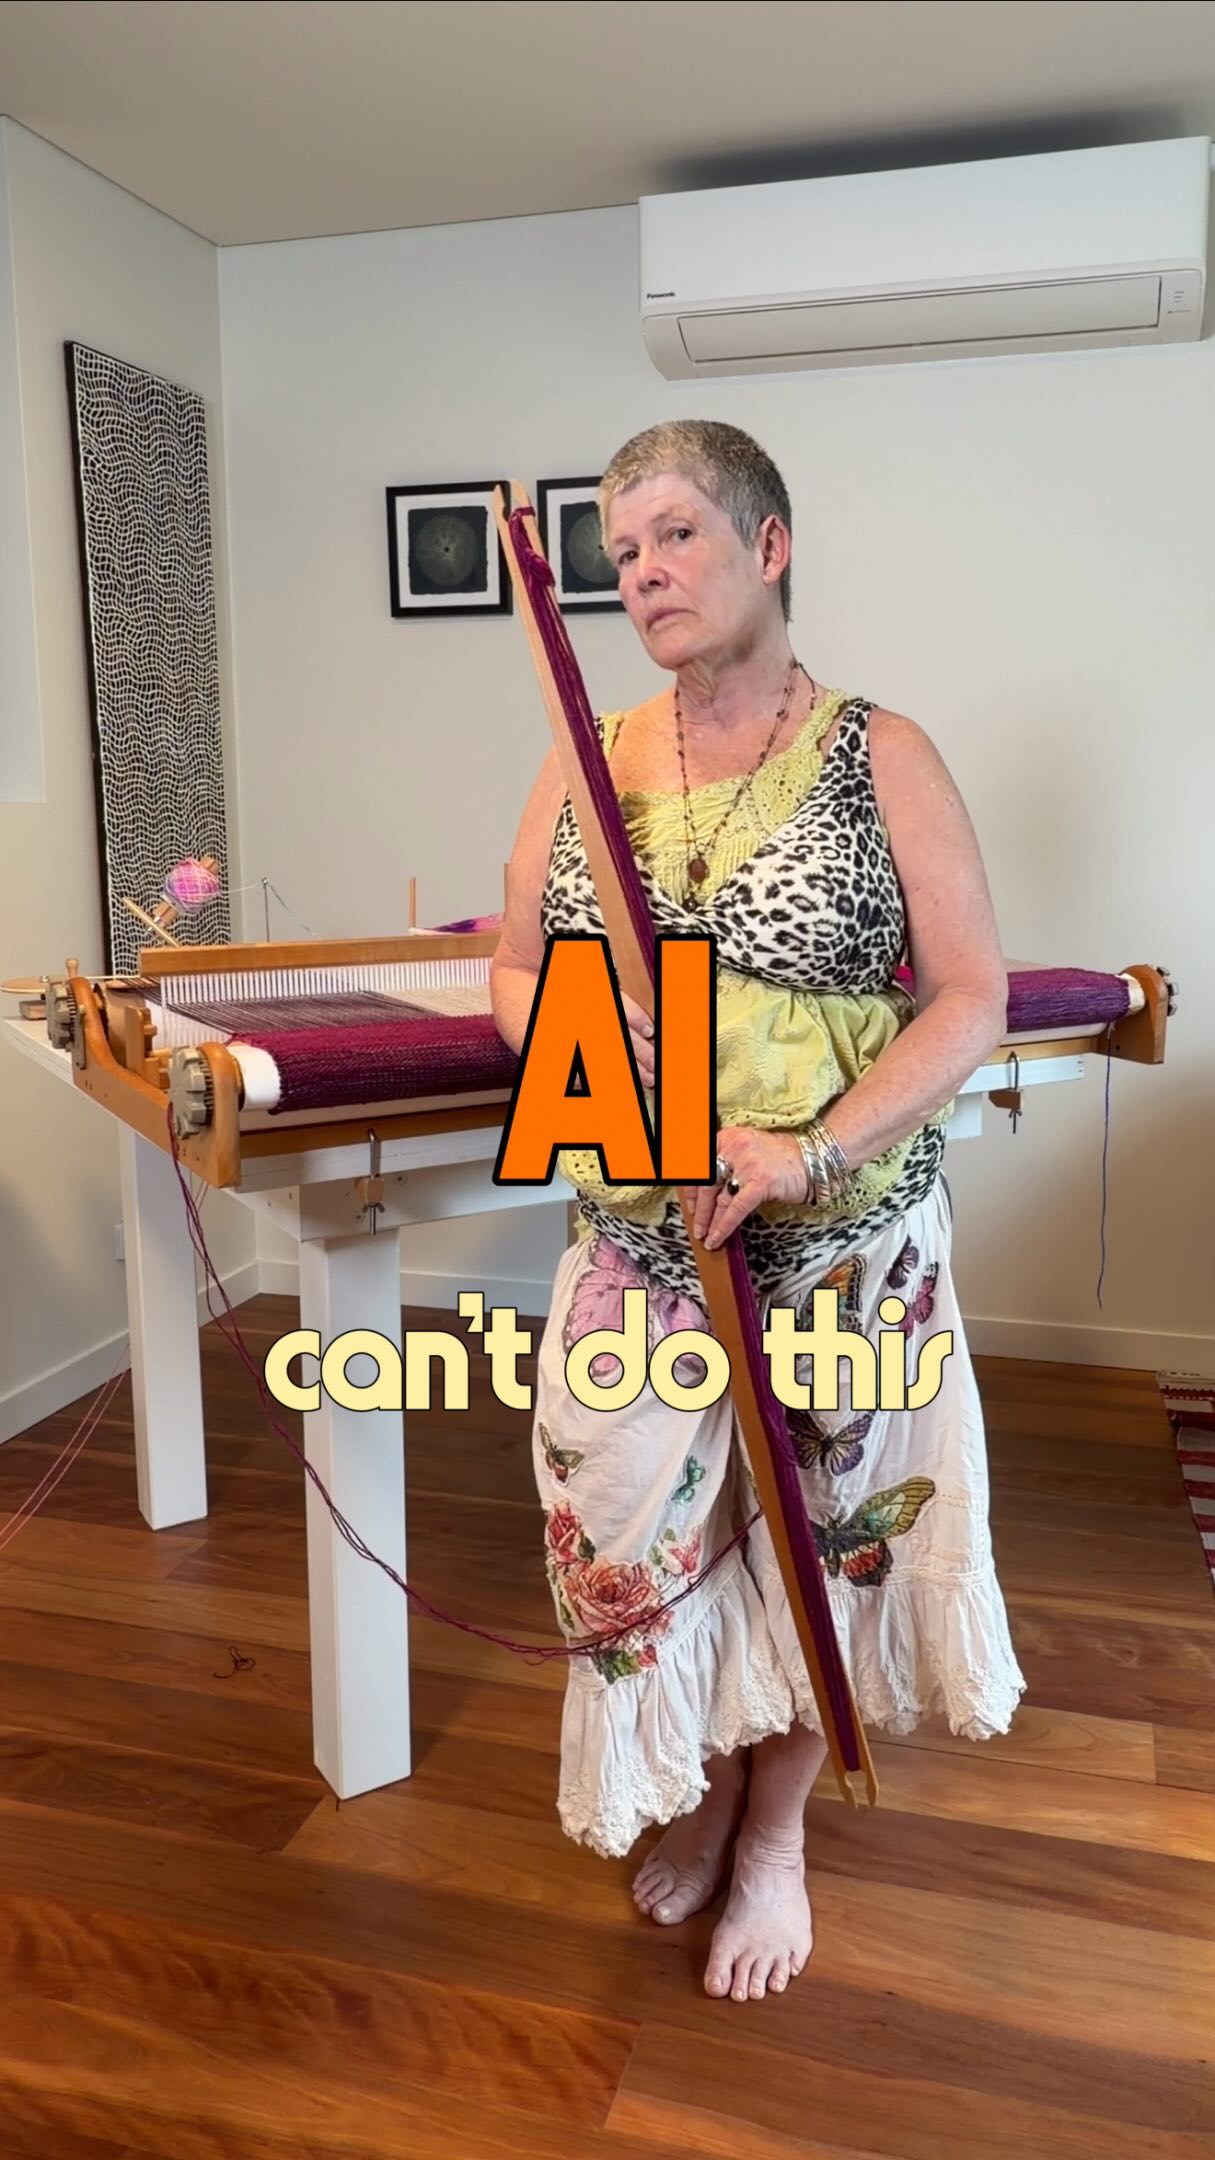
  • Yes.. slooooow! I’m weaving with my rigid heddle loom, where I stand and walk rather than sitting to weave. 

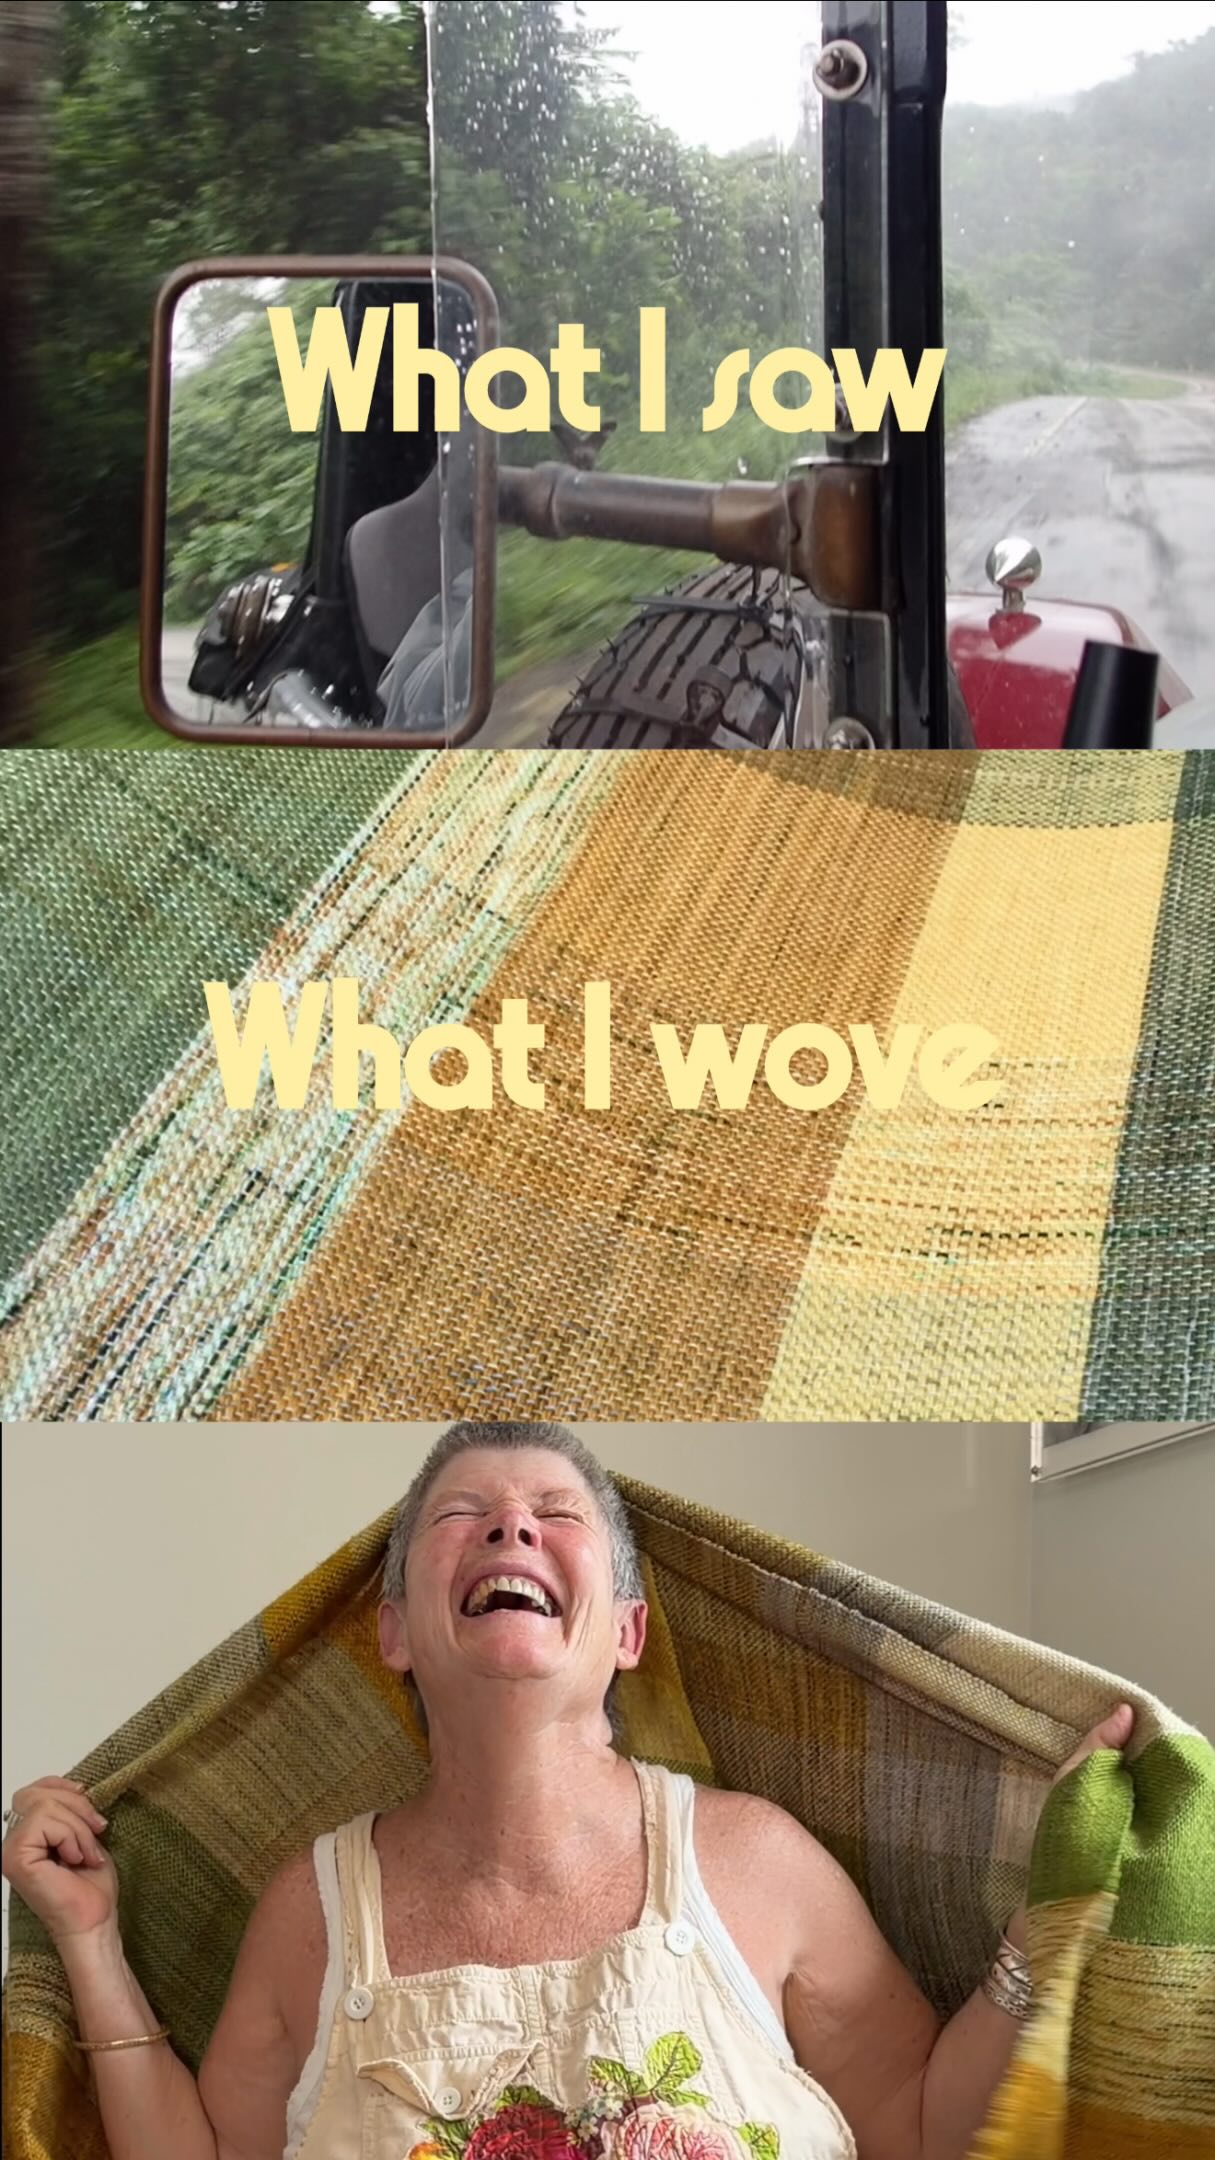
My blankets are based on my experiences, many of my series are based on travelling the world in our 100 year old vintage car. What do you base your weaving pieces on? 

Found my weaving interesting, let your weaving bestie know. I share tips and ideas which may help your weaving, so come follow along.
  • Do you skip this step? Some new weavers don’t realise until after they’ve cut their weaving off their loom that the ends start to come adrift! 

I see it sooo often. 

Here I’m making sure I don’t catch the woven header, but making sure I secure the warp threads into small clumps, by Hemstitching. 

I’m doing a tutorial which I’m aiming to post in the near future. 

Your weaving bestie may also be grateful for this reminder. For more tips and ideas, come follow along.
  • Wish more new weavers would try this. Just two is all that’s needed! 

This is a very simple tip to use just 2 cardboard strips as a header. I see some weavers use as many cardboard strips as sticks of spaghetti in a packet (yes, that may be an exaggeration lol) , but as you can see, two is perfectly adequate; followed by a small section of woven header in a contrasting colour. 

Follow along to see the next step where I show the most important Hemstitching!
  • Hemstitching is important. Some new weavers skip this step and don’t realise until after they’ve cut their weaving off the loom that the ends start to come adrift!

Here I’m making sure I don’t catch the woven header, but securing the warp threads into small clumps. 

I’m doing a tutorial which I’m aiming to post in the near future. 

Save this to remember.. and come follow along.
  • Woohoo! You’ve found my space here where you can see some of my experience and grab some tips and ideas and use for your next projects. 

I use a very simple rigid heddle loom, and combine that with a lifetime of experience as an artist, creative and weaver.

This is a very simple tip to use just 2 cardboard strips as a header. I see some weavers use heaps more, but as you can see, two is perfectly adequate; followed by a small section of woven header in a contrasting colour than my woven piece. You’ll see why, in a later reel. 

Follow along to see the next step where I show the most important Hemstitching!
  • You bit ‘meh’ about starting your next weaving project? I’m an artist and weaver and I share tips and ideas in my space here which may help you to ignite your weaving mojo again! Follow along and see. I may even make you laugh.
  • A not very technical solution to a very important task. The warp thread clumps need to be separated evenly. A simple solution. 

I’ve found that only two cardboard strips are necessary. I then weave about 1.5cm or an inch of header, using a yarn colour that I won’t be using in my weaving; so when I hemstitch I don’t catch the header yarn. 

So.. the 2 cardboard strips and a small section of woven header gets the warp perfectly evenly spread ready to weave the weft. 

I’ll show the header and hemstitch in an upcoming reel. Follow if you want to see some tips for those steps.
  • “What’s your studio dress code? Or are we all just pretending we’re going to get dressed and then… not?”
View on Instagram
Options?? Hmmmmm Beating the weft on my rigid heddle loom - is an option! 

Your thoughts?? :) 

I’m a sassy older weaver who loves weaving. Have a look around my space here and come follow along. I may even make you laugh!
View Reel on Instagram
@skeinydipping
@skeinydipping
•
Follow
Options?? Hmmmmm Beating the weft on my rigid heddle loom - is an option! Your thoughts?? 🙂 I’m a sassy older weaver who loves weaving. Have a look around my space here and come follow along. I may even make you laugh!
20 hours ago
View on Instagram |
1/9
Yes.. slooooow! I’m weaving with my rigid heddle loom, where I stand and walk rather than sitting to weave. 

My blankets are based on my experiences, many of my series are based on travelling the world in our 100 year old vintage car. What do you base your weaving pieces on? 

Found my weaving interesting, let your weaving bestie know. I share tips and ideas which may help your weaving, so come follow along.
View Reel on Instagram
@skeinydipping
@skeinydipping
•
Follow
Yes.. slooooow! I’m weaving with my rigid heddle loom, where I stand and walk rather than sitting to weave. My blankets are based on my experiences, many of my series are based on travelling the world in our 100 year old vintage car. What do you base your weaving pieces on? Found my weaving interesting, let your weaving bestie know. I share tips and ideas which may help your weaving, so come follow along.
22 hours ago
View on Instagram |
2/9
Do you skip this step? Some new weavers don’t realise until after they’ve cut their weaving off their loom that the ends start to come adrift! 

I see it sooo often. 

Here I’m making sure I don’t catch the woven header, but making sure I secure the warp threads into small clumps, by Hemstitching. 

I’m doing a tutorial which I’m aiming to post in the near future. 

Your weaving bestie may also be grateful for this reminder. For more tips and ideas, come follow along.
View Reel on Instagram
@skeinydipping
@skeinydipping
•
Follow
Do you skip this step? Some new weavers don’t realise until after they’ve cut their weaving off their loom that the ends start to come adrift! I see it sooo often. Here I’m making sure I don’t catch the woven header, but making sure I secure the warp threads into small clumps, by Hemstitching. I’m doing a tutorial which I’m aiming to post in the near future. Your weaving bestie may also be grateful for this reminder. For more tips and ideas, come follow along.
2 days ago
View on Instagram |
3/9
Wish more new weavers would try this. Just two is all that’s needed! 

This is a very simple tip to use just 2 cardboard strips as a header. I see some weavers use as many cardboard strips as sticks of spaghetti in a packet (yes, that may be an exaggeration lol) , but as you can see, two is perfectly adequate; followed by a small section of woven header in a contrasting colour. 

Follow along to see the next step where I show the most important Hemstitching!
View Reel on Instagram
@skeinydipping
@skeinydipping
•
Follow
Wish more new weavers would try this. Just two is all that’s needed! This is a very simple tip to use just 2 cardboard strips as a header. I see some weavers use as many cardboard strips as sticks of spaghetti in a packet (yes, that may be an exaggeration lol) , but as you can see, two is perfectly adequate; followed by a small section of woven header in a contrasting colour. Follow along to see the next step where I show the most important Hemstitching!
2 days ago
View on Instagram |
4/9
Hemstitching is important. Some new weavers skip this step and don’t realise until after they’ve cut their weaving off the loom that the ends start to come adrift!

Here I’m making sure I don’t catch the woven header, but securing the warp threads into small clumps. 

I’m doing a tutorial which I’m aiming to post in the near future. 

Save this to remember.. and come follow along.
View Reel on Instagram
@skeinydipping
@skeinydipping
•
Follow
Hemstitching is important. Some new weavers skip this step and don’t realise until after they’ve cut their weaving off the loom that the ends start to come adrift! Here I’m making sure I don’t catch the woven header, but securing the warp threads into small clumps. I’m doing a tutorial which I’m aiming to post in the near future. Save this to remember.. and come follow along.
2 days ago
View on Instagram |
5/9
Woohoo! You’ve found my space here where you can see some of my experience and grab some tips and ideas and use for your next projects. 

I use a very simple rigid heddle loom, and combine that with a lifetime of experience as an artist, creative and weaver.

This is a very simple tip to use just 2 cardboard strips as a header. I see some weavers use heaps more, but as you can see, two is perfectly adequate; followed by a small section of woven header in a contrasting colour than my woven piece. You’ll see why, in a later reel. 

Follow along to see the next step where I show the most important Hemstitching!
View Reel on Instagram
@skeinydipping
@skeinydipping
•
Follow
Woohoo! You’ve found my space here where you can see some of my experience and grab some tips and ideas and use for your next projects. I use a very simple rigid heddle loom, and combine that with a lifetime of experience as an artist, creative and weaver. This is a very simple tip to use just 2 cardboard strips as a header. I see some weavers use heaps more, but as you can see, two is perfectly adequate; followed by a small section of woven header in a contrasting colour than my woven piece. You’ll see why, in a later reel. Follow along to see the next step where I show the most important Hemstitching!
3 days ago
View on Instagram |
6/9
You bit ‘meh’ about starting your next weaving project? I’m an artist and weaver and I share tips and ideas in my space here which may help you to ignite your weaving mojo again! Follow along and see. I may even make you laugh.
View Reel on Instagram
@skeinydipping
@skeinydipping
•
Follow
You bit ‘meh’ about starting your next weaving project? I’m an artist and weaver and I share tips and ideas in my space here which may help you to ignite your weaving mojo again! Follow along and see. I may even make you laugh.
4 days ago
View on Instagram |
7/9
A not very technical solution to a very important task. The warp thread clumps need to be separated evenly. A simple solution. 

I’ve found that only two cardboard strips are necessary. I then weave about 1.5cm or an inch of header, using a yarn colour that I won’t be using in my weaving; so when I hemstitch I don’t catch the header yarn. 

So.. the 2 cardboard strips and a small section of woven header gets the warp perfectly evenly spread ready to weave the weft. 

I’ll show the header and hemstitch in an upcoming reel. Follow if you want to see some tips for those steps.
View Reel on Instagram
@skeinydipping
@skeinydipping
•
Follow
A not very technical solution to a very important task. The warp thread clumps need to be separated evenly. A simple solution.  I’ve found that only two cardboard strips are necessary. I then weave about 1.5cm or an inch of header, using a yarn colour that I won’t be using in my weaving; so when I hemstitch I don’t catch the header yarn.  So.. the 2 cardboard strips and a small section of woven header gets the warp perfectly evenly spread ready to weave the weft.  I’ll show the header and hemstitch in an upcoming reel. Follow if you want to see some tips for those steps.
4 days ago
View on Instagram |
8/9
“What’s your studio dress code? Or are we all just pretending we’re going to get dressed and then… not?”
View Reel on Instagram
@skeinydipping
@skeinydipping
•
Follow
“What’s your studio dress code? Or are we all just pretending we’re going to get dressed and then… not?”
4 days ago
View on Instagram |
9/9


@skeinydipping

@skeinydipping

𝐌𝐮𝐥𝐭𝐢 𝐌𝐞𝐝𝐢𝐚 𝐀𝐫𝐭𝐢𝐬𝐭 | 𝐇𝐞𝐢𝐫𝐥𝐨𝐨𝐦 𝐓𝐞𝐱𝐭𝐢𝐥𝐞𝐬 Luxury Handwoven Blankets 🌏Stories from life & global adventures 🧩Woven into unique collector pieces Explore ⬇️
  • Options?? Hmmmmm Beating the weft on my rigid heddle loom - is an option! 

Your thoughts?? :) 

I’m a sassy older weaver who loves weaving. Have a look around my space here and come follow along. I may even make you laugh!
  • Yes.. slooooow! I’m weaving with my rigid heddle loom, where I stand and walk rather than sitting to weave. 

My blankets are based on my experiences, many of my series are based on travelling the world in our 100 year old vintage car. What do you base your weaving pieces on? 

Found my weaving interesting, let your weaving bestie know. I share tips and ideas which may help your weaving, so come follow along.
  • Do you skip this step? Some new weavers don’t realise until after they’ve cut their weaving off their loom that the ends start to come adrift! 

I see it sooo often. 

Here I’m making sure I don’t catch the woven header, but making sure I secure the warp threads into small clumps, by Hemstitching. 

I’m doing a tutorial which I’m aiming to post in the near future. 

Your weaving bestie may also be grateful for this reminder. For more tips and ideas, come follow along.
  • Wish more new weavers would try this. Just two is all that’s needed! 

This is a very simple tip to use just 2 cardboard strips as a header. I see some weavers use as many cardboard strips as sticks of spaghetti in a packet (yes, that may be an exaggeration lol) , but as you can see, two is perfectly adequate; followed by a small section of woven header in a contrasting colour. 

Follow along to see the next step where I show the most important Hemstitching!
  • Hemstitching is important. Some new weavers skip this step and don’t realise until after they’ve cut their weaving off the loom that the ends start to come adrift!

Here I’m making sure I don’t catch the woven header, but securing the warp threads into small clumps. 

I’m doing a tutorial which I’m aiming to post in the near future. 

Save this to remember.. and come follow along.
  • Woohoo! You’ve found my space here where you can see some of my experience and grab some tips and ideas and use for your next projects. 

I use a very simple rigid heddle loom, and combine that with a lifetime of experience as an artist, creative and weaver.

This is a very simple tip to use just 2 cardboard strips as a header. I see some weavers use heaps more, but as you can see, two is perfectly adequate; followed by a small section of woven header in a contrasting colour than my woven piece. You’ll see why, in a later reel. 

Follow along to see the next step where I show the most important Hemstitching!
  • You bit ‘meh’ about starting your next weaving project? I’m an artist and weaver and I share tips and ideas in my space here which may help you to ignite your weaving mojo again! Follow along and see. I may even make you laugh.
  • A not very technical solution to a very important task. The warp thread clumps need to be separated evenly. A simple solution. 

I’ve found that only two cardboard strips are necessary. I then weave about 1.5cm or an inch of header, using a yarn colour that I won’t be using in my weaving; so when I hemstitch I don’t catch the header yarn. 

So.. the 2 cardboard strips and a small section of woven header gets the warp perfectly evenly spread ready to weave the weft. 

I’ll show the header and hemstitch in an upcoming reel. Follow if you want to see some tips for those steps.
  • “What’s your studio dress code? Or are we all just pretending we’re going to get dressed and then… not?”
View on Instagram
Options?? Hmmmmm Beating the weft on my rigid heddle loom - is an option! 

Your thoughts?? :) 

I’m a sassy older weaver who loves weaving. Have a look around my space here and come follow along. I may even make you laugh!
View Reel on Instagram
@skeinydipping
@skeinydipping
•
Follow
Options?? Hmmmmm Beating the weft on my rigid heddle loom - is an option! Your thoughts?? 🙂 I’m a sassy older weaver who loves weaving. Have a look around my space here and come follow along. I may even make you laugh!
20 hours ago
View on Instagram |
1/9
Yes.. slooooow! I’m weaving with my rigid heddle loom, where I stand and walk rather than sitting to weave. 

My blankets are based on my experiences, many of my series are based on travelling the world in our 100 year old vintage car. What do you base your weaving pieces on? 

Found my weaving interesting, let your weaving bestie know. I share tips and ideas which may help your weaving, so come follow along.
View Reel on Instagram
@skeinydipping
@skeinydipping
•
Follow
Yes.. slooooow! I’m weaving with my rigid heddle loom, where I stand and walk rather than sitting to weave. My blankets are based on my experiences, many of my series are based on travelling the world in our 100 year old vintage car. What do you base your weaving pieces on? Found my weaving interesting, let your weaving bestie know. I share tips and ideas which may help your weaving, so come follow along.
22 hours ago
View on Instagram |
2/9
Do you skip this step? Some new weavers don’t realise until after they’ve cut their weaving off their loom that the ends start to come adrift! 

I see it sooo often. 

Here I’m making sure I don’t catch the woven header, but making sure I secure the warp threads into small clumps, by Hemstitching. 

I’m doing a tutorial which I’m aiming to post in the near future. 

Your weaving bestie may also be grateful for this reminder. For more tips and ideas, come follow along.
View Reel on Instagram
@skeinydipping
@skeinydipping
•
Follow
Do you skip this step? Some new weavers don’t realise until after they’ve cut their weaving off their loom that the ends start to come adrift! I see it sooo often. Here I’m making sure I don’t catch the woven header, but making sure I secure the warp threads into small clumps, by Hemstitching. I’m doing a tutorial which I’m aiming to post in the near future. Your weaving bestie may also be grateful for this reminder. For more tips and ideas, come follow along.
2 days ago
View on Instagram |
3/9
Wish more new weavers would try this. Just two is all that’s needed! 

This is a very simple tip to use just 2 cardboard strips as a header. I see some weavers use as many cardboard strips as sticks of spaghetti in a packet (yes, that may be an exaggeration lol) , but as you can see, two is perfectly adequate; followed by a small section of woven header in a contrasting colour. 

Follow along to see the next step where I show the most important Hemstitching!
View Reel on Instagram
@skeinydipping
@skeinydipping
•
Follow
Wish more new weavers would try this. Just two is all that’s needed! This is a very simple tip to use just 2 cardboard strips as a header. I see some weavers use as many cardboard strips as sticks of spaghetti in a packet (yes, that may be an exaggeration lol) , but as you can see, two is perfectly adequate; followed by a small section of woven header in a contrasting colour. Follow along to see the next step where I show the most important Hemstitching!
2 days ago
View on Instagram |
4/9
Hemstitching is important. Some new weavers skip this step and don’t realise until after they’ve cut their weaving off the loom that the ends start to come adrift!

Here I’m making sure I don’t catch the woven header, but securing the warp threads into small clumps. 

I’m doing a tutorial which I’m aiming to post in the near future. 

Save this to remember.. and come follow along.
View Reel on Instagram
@skeinydipping
@skeinydipping
•
Follow
Hemstitching is important. Some new weavers skip this step and don’t realise until after they’ve cut their weaving off the loom that the ends start to come adrift! Here I’m making sure I don’t catch the woven header, but securing the warp threads into small clumps. I’m doing a tutorial which I’m aiming to post in the near future. Save this to remember.. and come follow along.
2 days ago
View on Instagram |
5/9
Woohoo! You’ve found my space here where you can see some of my experience and grab some tips and ideas and use for your next projects. 

I use a very simple rigid heddle loom, and combine that with a lifetime of experience as an artist, creative and weaver.

This is a very simple tip to use just 2 cardboard strips as a header. I see some weavers use heaps more, but as you can see, two is perfectly adequate; followed by a small section of woven header in a contrasting colour than my woven piece. You’ll see why, in a later reel. 

Follow along to see the next step where I show the most important Hemstitching!
View Reel on Instagram
@skeinydipping
@skeinydipping
•
Follow
Woohoo! You’ve found my space here where you can see some of my experience and grab some tips and ideas and use for your next projects. I use a very simple rigid heddle loom, and combine that with a lifetime of experience as an artist, creative and weaver. This is a very simple tip to use just 2 cardboard strips as a header. I see some weavers use heaps more, but as you can see, two is perfectly adequate; followed by a small section of woven header in a contrasting colour than my woven piece. You’ll see why, in a later reel. Follow along to see the next step where I show the most important Hemstitching!
3 days ago
View on Instagram |
6/9
You bit ‘meh’ about starting your next weaving project? I’m an artist and weaver and I share tips and ideas in my space here which may help you to ignite your weaving mojo again! Follow along and see. I may even make you laugh.
View Reel on Instagram
@skeinydipping
@skeinydipping
•
Follow
You bit ‘meh’ about starting your next weaving project? I’m an artist and weaver and I share tips and ideas in my space here which may help you to ignite your weaving mojo again! Follow along and see. I may even make you laugh.
4 days ago
View on Instagram |
7/9
A not very technical solution to a very important task. The warp thread clumps need to be separated evenly. A simple solution. 

I’ve found that only two cardboard strips are necessary. I then weave about 1.5cm or an inch of header, using a yarn colour that I won’t be using in my weaving; so when I hemstitch I don’t catch the header yarn. 

So.. the 2 cardboard strips and a small section of woven header gets the warp perfectly evenly spread ready to weave the weft. 

I’ll show the header and hemstitch in an upcoming reel. Follow if you want to see some tips for those steps.
View Reel on Instagram
@skeinydipping
@skeinydipping
•
Follow
A not very technical solution to a very important task. The warp thread clumps need to be separated evenly. A simple solution.  I’ve found that only two cardboard strips are necessary. I then weave about 1.5cm or an inch of header, using a yarn colour that I won’t be using in my weaving; so when I hemstitch I don’t catch the header yarn.  So.. the 2 cardboard strips and a small section of woven header gets the warp perfectly evenly spread ready to weave the weft.  I’ll show the header and hemstitch in an upcoming reel. Follow if you want to see some tips for those steps.
4 days ago
View on Instagram |
8/9
“What’s your studio dress code? Or are we all just pretending we’re going to get dressed and then… not?”
View Reel on Instagram
@skeinydipping
@skeinydipping
•
Follow
“What’s your studio dress code? Or are we all just pretending we’re going to get dressed and then… not?”
4 days ago
View on Instagram |
9/9
2025 All photographs created by and property of Julie Stephenson.